Showing posts with label Preparedness. Show all posts

Saturday, November 16, 2013

A Grain Flaker- My New Preparedness Tool

Looks like wheat kernels, doesn't it?  It's not.  It's whole oat groats. This is how your morning bowl of oatmeal begins.  It's a far cry from what we usually buy in the grocery store though.  Steel cut oats would be the closest thing you could get to it.  Next in line would be old fashioned rolled oats, followed by quick cooking and then instant, each one becoming more and more processed.  Quick cooking and instant are popular because we are a society that wants everything in a hurry.  Unfortunately, the more processed a food becomes, the worse it seems to be for our bodies.  A bowl of good old fashioned oatmeal, with a little sweetener and fruit is one of the healthiest breakfasts you can eat.  But have you taken a look lately at all the flavors of instant oatmeal available?  Apple crisp, cinnamon roll and banana bread... I mean are we having breakfast or dessert?  Flavored is usually a code word for lots of sugar.  It's so easy to flavor your own, with real fruit and stevia, I'm not sure why anyone would want to buy the imitation (you do know that's not real fruit, right?) stuff.  The real thing always tastes better.  My favorite combinations are canned apples with nuts and cinnamon or peaches, strawberries or blueberries and cream (not really- it's just milk), or dried fruit, like raisins, cranberries, apricots or cherries. Yum!!!  My oatmeal is not boring!
For the past few years, I've been eating steel cut oats.  You can go here to see an easy way to let them cook overnight, so all you have to do is reheat in the morning. (There's also a nice recipe for granola and a killer oatmeal cookie recipe on the same post.)  Steel cut is my favorite way to eat oats, but I also like old fashioned rolled oats too.  And here's where my new kitchen toy comes in.  I found a resource for a grain flaker.  I never imagined that I could roll my own oats at home, but with this tool I can.  I put the oat groats into the top of the flaker
and start turning the handle.  Yes, it's manual, but it didn't take very long for me to roll a bowl of oats, and my arms got a nice little work out in the process.
Pretty neat, huh?  It almost looks like store bought.  The flakes aren't as perfectly shaped as Quakers, but hey, these are one of a kind, homemade rolled oats.   They're not supposed to look like they've been processed on commercial machines.
With a little help from Kenzie and Mark, we refilled my oatmeal container with our own freshly flaked oats in about ten minutes.  I had a nice big bowl for breakfast the next day and it was delicious. I thought it was better than any I've bought in the store, but I might be biased, seeing as how I put a little effort into working for my breakfast.  The things we work for bring extra satisfaction and enjoyment, right?
So here's why I'm really excited about having my own grain flaker. If I wanted to store oatmeal as part of my food storage preparedness program (and I do), the shelf life on processed oats is less than whole grains that I process myself.  For short term storage, oats purchased in the grocery store are fine. In time, the quality will deteriorate though.  They need to be used and rotated regularly.  I've had some rolled oats in large buckets (that weren't nitrogen packed) that had a funny smell when I opened them and I didn't use them.  Okay, if I'd been starving, I would have eaten them, but this was not the case.  When properly packaged, long term storage items can sit in my pantry and I don't have to worry about using them for years, if I don't want to.  We live in uncertain times and may not always have access to the abundance of food that we now enjoy.  It's a good idea to store food for your family.  You can go here if you'd like to learn more about starting your own food storage program.


Thursday, August 8, 2013

If Ye Are Prepared...

Check out my Preparedness Page (under banner) to see my goals for August and to see what's been accomplished in July.  Summer's a busy, busy time.  

Monday, July 22, 2013

Making Bagels and Overnight Artisan Bread

In my last post, I shared the recipe for that awesome cracker bread and today I'm going to show you two more great bread recipes that I learned from J'nae.  While we were making cracker bread, I mentioned to her, that I had always wanted to learn how to make bagels.  With the same dough that we used for the cracker bread, she proceeded to teach me how easy it is to make bagels at home.  She pinched off a piece of dough and made a hole in the middle with her thumb, and then we stretched it into a bagel shape.   
Of course, each one has its own unique shape, which is one thing I love about homemade bread.  
She carefully dropped the bagels into a pot of boiling water and flipped them over after 8 minutes.  Then they cooked for another 8 minutes and were removed to a parchment lined baking sheet.
We brushed the tops with an egg wash and sprinkled with sesame seeds, before returning to the oven to bake.
I loved the finished product, especially toasted the next morning with a little jam.  Yummy!
Our last baking project was a round, artisan bread.  My friend assured me this was the easiest bread to make and that I would love it!  Easy, because you mix it in a bowl and basically forget about it overnight.  Love it, because, well, she just knows me and bread. 
She mixed the bread dough by hand in this Rubbermaid take along bowl.  You can see that it's a pretty wet dough.  She put the lid on it and then we let it sit on the counter overnight.
The next morning it looked like this.  The surface was dotted with bubbles.
We poured it onto a floured counter and kneaded it about seven times to work some flour into the dough. This bread is called a No-Knead Bread, because you don't knead for the traditional amount of time required for most yeast breads.  Just six or seven times to make the dough workable.
We then coated the bowl with cooking spray and sprinkled sesame seeds on the bottom and around the sides.  
We put the ball of dough in the bowl, covered it and let it rise for about an hour and a half.  You can see how this bread doesn't require a lot of hands on time, but it does require time.  I like recipes like this though, because you can be doing other things while you wait.
When the dough is almost finished rising, you put a cast iron dutch oven, with lid, in the oven at 450 degrees for thirty minutes.  The oven and the pan need to be blazing hot before baking the bread.  Carefully remove the pan from oven.
Turn dough over into the hot pan.
Cover and bake for 27 minutes. Then uncover and continue baking for an additional 6 to 10 minutes or until browned to your liking.  Baking in a hot, covered, pan creates an environment that produces a chewy crust with a soft, tender interior.  
Let it cool on a wire rack before cutting. The hard part is waiting for it to cool enough to slice, because at this point the house smells so good, your taste buds are screaming!
Our artisan bread was made with garlic and italian seasonings, so you can probably imagine how delicious it was.  But the possibilities are endless.  Just think about your favorite rustic bread and you can create it with this recipe.  Parmesan olive, rosemary olive oil, cranberry almond, asiago cheese- they all sound divine don't they?  I'm so excited to try this bread at home.  I have a brotform basket that I received as a Christmas gift that I've been wanting to try out and it will be perfect for this bread.

This completed our baking marathon and boy oh boy was it fun.  You know you have a good friend when she spends all this time in the kitchen baking with you and she is on an eating plan that doesn't allow bread.  What torture!  I don't think I could have done it.  Thank you, thank you J'nae.  You're the best.  I know these recipes will become favorites at our house. 


Rustic Bread
3 cups flour
3/4 t. instant yeast
1 1/2 t. salt
1 1/2 cups water
1/2 t. red wine vinegar

In large bowl, combine flour, yeast and salt.  Mix ingredients to distribute evenly.  Add any dry spices or other ingredients (olives, nuts or seeds, etc.)  Add 1/2 t. red wine vinegar to water.  Mix with flour mixture and stir until flour is incorporated; dough should be pretty stiff... cover bowl with plastic wrap.  Let dough rest for at least 12 hours up to 18 hours at about 70 degrees.  When surface is dotted with bubbles, dough is ready.  After the 12-18 hour rest, place dough on well floured work surface and sprinkle dough with a light dusting of flour.  Gently knead about 7 times.   Spray a second large bowl with non stick spray.  Sprinkle bottom with sesame seeds if desired.  Transfer dough to oiled bowl, placing dough seam side down in bowl.  Cover and let rise until it has doubled in size and does not spring back when poked with a finger, about 2 hours. After dough has been rising for about 1 1/2 hour, preheat oven to 450 degrees for 30 minutes with covered dutch oven in oven.  Pot should be at least 4 to 8 qt.  When dough has risen for the allotted time, carefully remove hot pan from oven. Turn dough over into hot pan, now seam side up.  Cover and bake 27 minutes. Uncover and bake until browned.  Cool on wire rack.

Thursday, May 30, 2013

Planting the Garden and Preparedness Update

I've been playing catch up with my Preparedness Page.  I really have been busy, planting gardens and
canning.  I just haven't taken the time to blog about my endeavors.  Check out what I've been up to the
last few months on the Preparedness tab at the top of the page.  And if you aren't quite sure why I do
all this preparedness stuff, you can read more about that here and here.

Wednesday, March 13, 2013

February's Preparedness Goals

Check out the preparedness tab at the top of the page to see what I accomplished in February and what I'm working on this month.  I'm loving these spring days that lure me out to begin working the soil.  Planting begins soon!

Wednesday, February 6, 2013

Where's the Beef?

Where's the beef?  Well, in my freezer of course.  This, my friends is what two hundred and ninety-three pounds of cow looks like, all cut, packaged and ready for many tasty meals.
If you're interested in checking out my preparedness goals this year, you can find them under the preparedness tab at the top of the page.  I'm working hard on being as self reliant as possible and I like lists that I can mark through.  It feels so good to mark something off your to-do list, don't you think?

Friday, July 20, 2012

What To Do With All The Squash

Why did I plant four squash plants?  This is the question that I've been asking myself the past few weeks.  Those little innocent plants that I put in the ground the first of May have been churning out the squash.  Wow, if everything would grow the way this vegetable grows, gardening would be a breeze.  Even with a squash dish on the menu every couple of days, I've had to find other things to do with the abundance.  At first friends were happy to take some off my hands, but now they see me coming and turn the other way.  They don't want any more of my squash.  I've taken bags to the homeless shelter and thankfully they haven't turned me down.  I've learned from experience that squash doesn't freeze well and I can only imagine that canned squash would end up being mush. What can I do with all this squash?  When lamenting about this to my friend Betsy, she said she had found a recipe for a squash casserole that freezes well. She used a mixture of squash and zucchini when she had both, but if not, she just used squash.  She made up lots of them last summer, stuck them in the freezer and they enjoyed them all winter.  Betsy froze hers in freezer bags and when ready to bake, took out a bag, emptied the contents into a greased casserole dish, covered with foil and baked. She also made individual portions by baking them in muffin tins. Now this was something I was interested in trying for myself. 

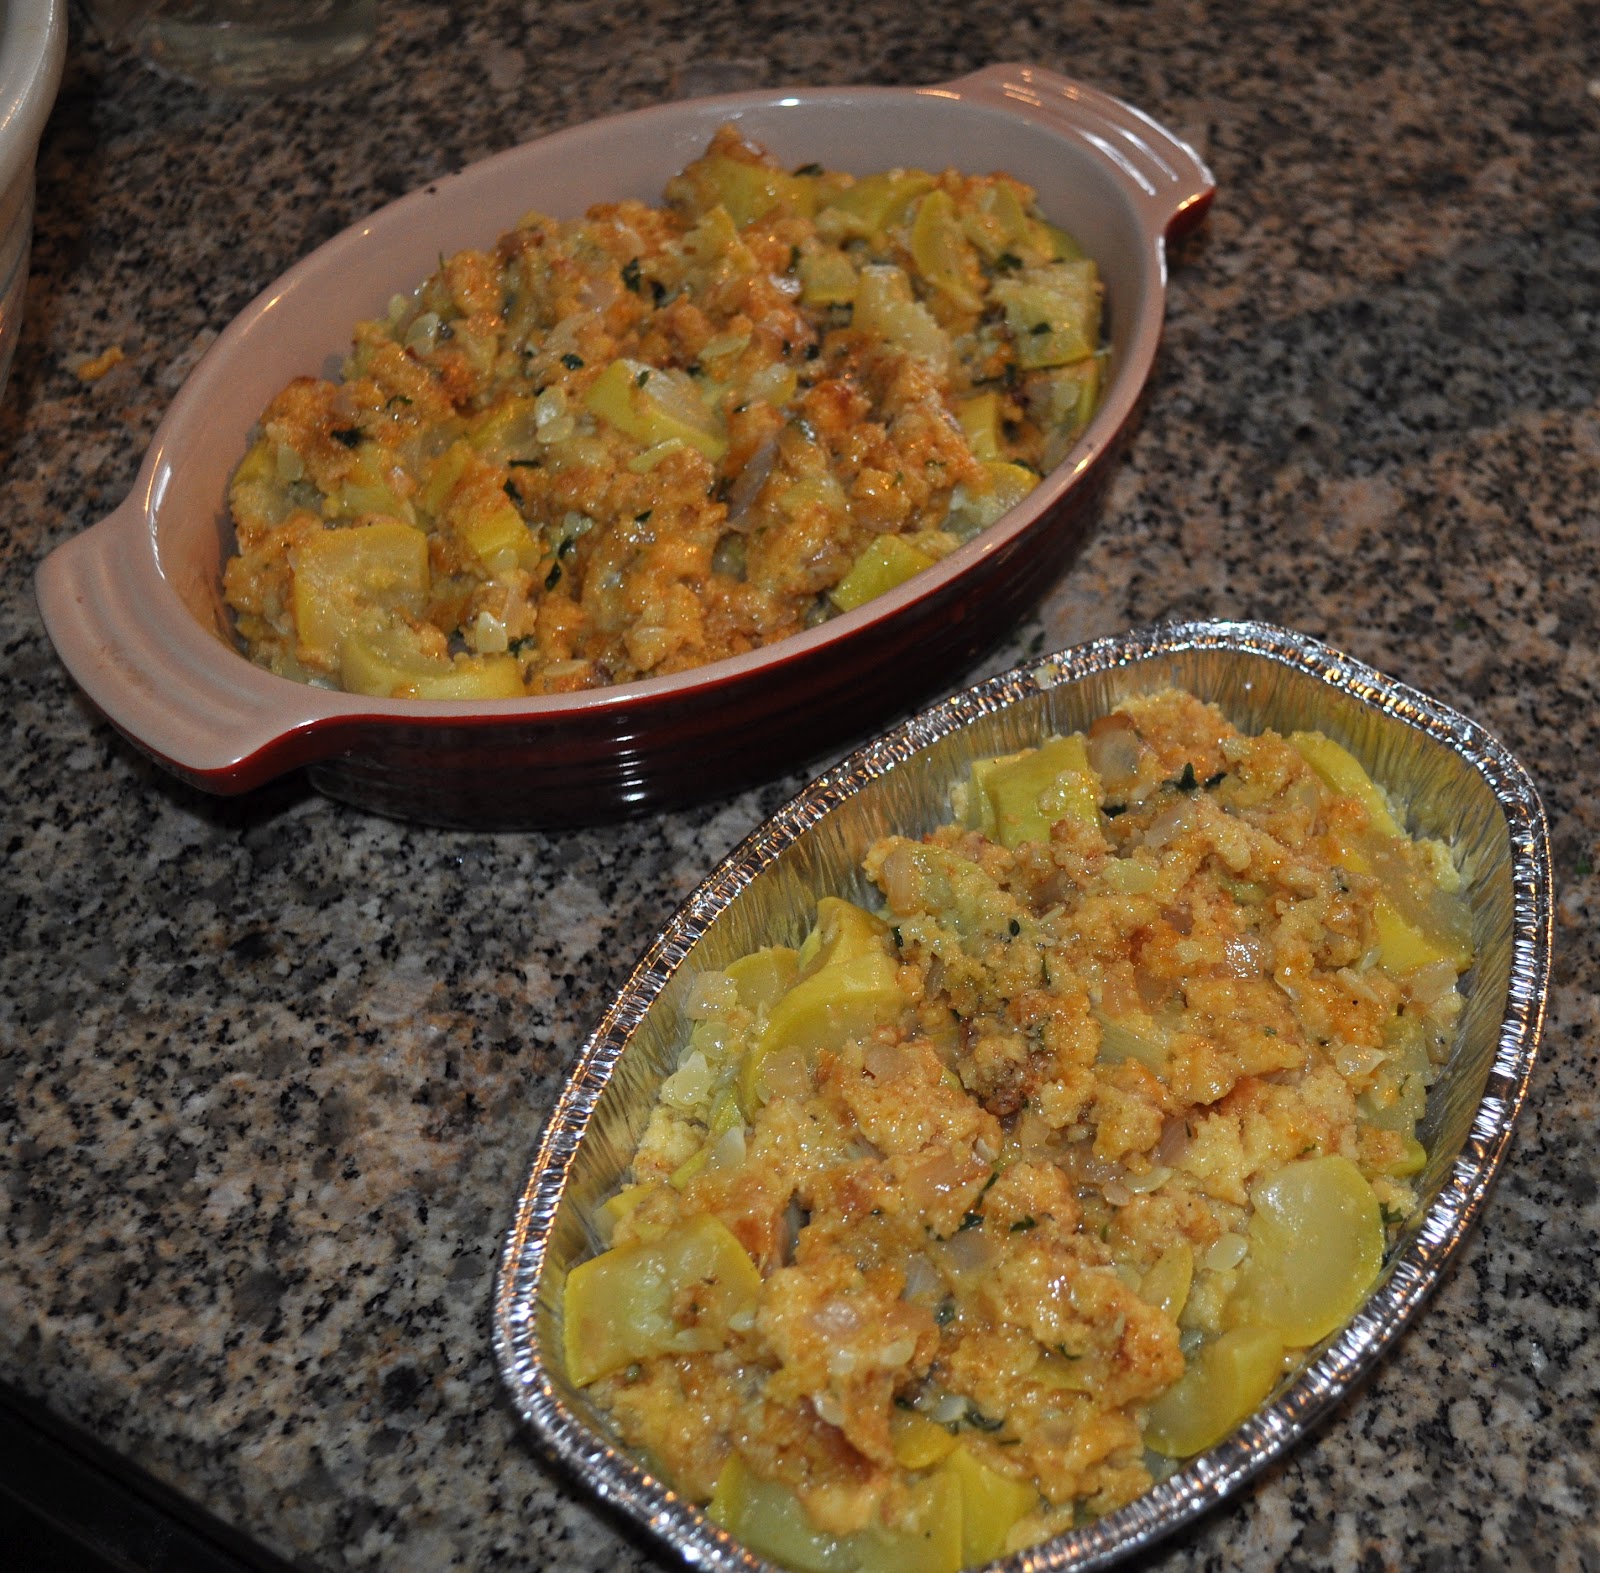
I've made a number of squash casseroles and I like them all, but her recipe was different from any I'd tried in the past.  Unlike other recipes, it didn't have eggs or sour cream in it, but it did have cornbread.  And I think that's what makes it so delicious!  When describing this to a friend a few days ago, she said, "oh, it sounds delicious, almost like a dressing"  And she's right!  That must be why I like it so much.  The dressing has always been my favorite part of the Thanksgiving meal.   So I've been making plenty of these casseroles and we eat some and I freeze some. I've been using small foil casserole pans for the freezer that will be just the right amount for two people.  We really like it.  If you have squash, maybe you'll want to try it for yourself.   
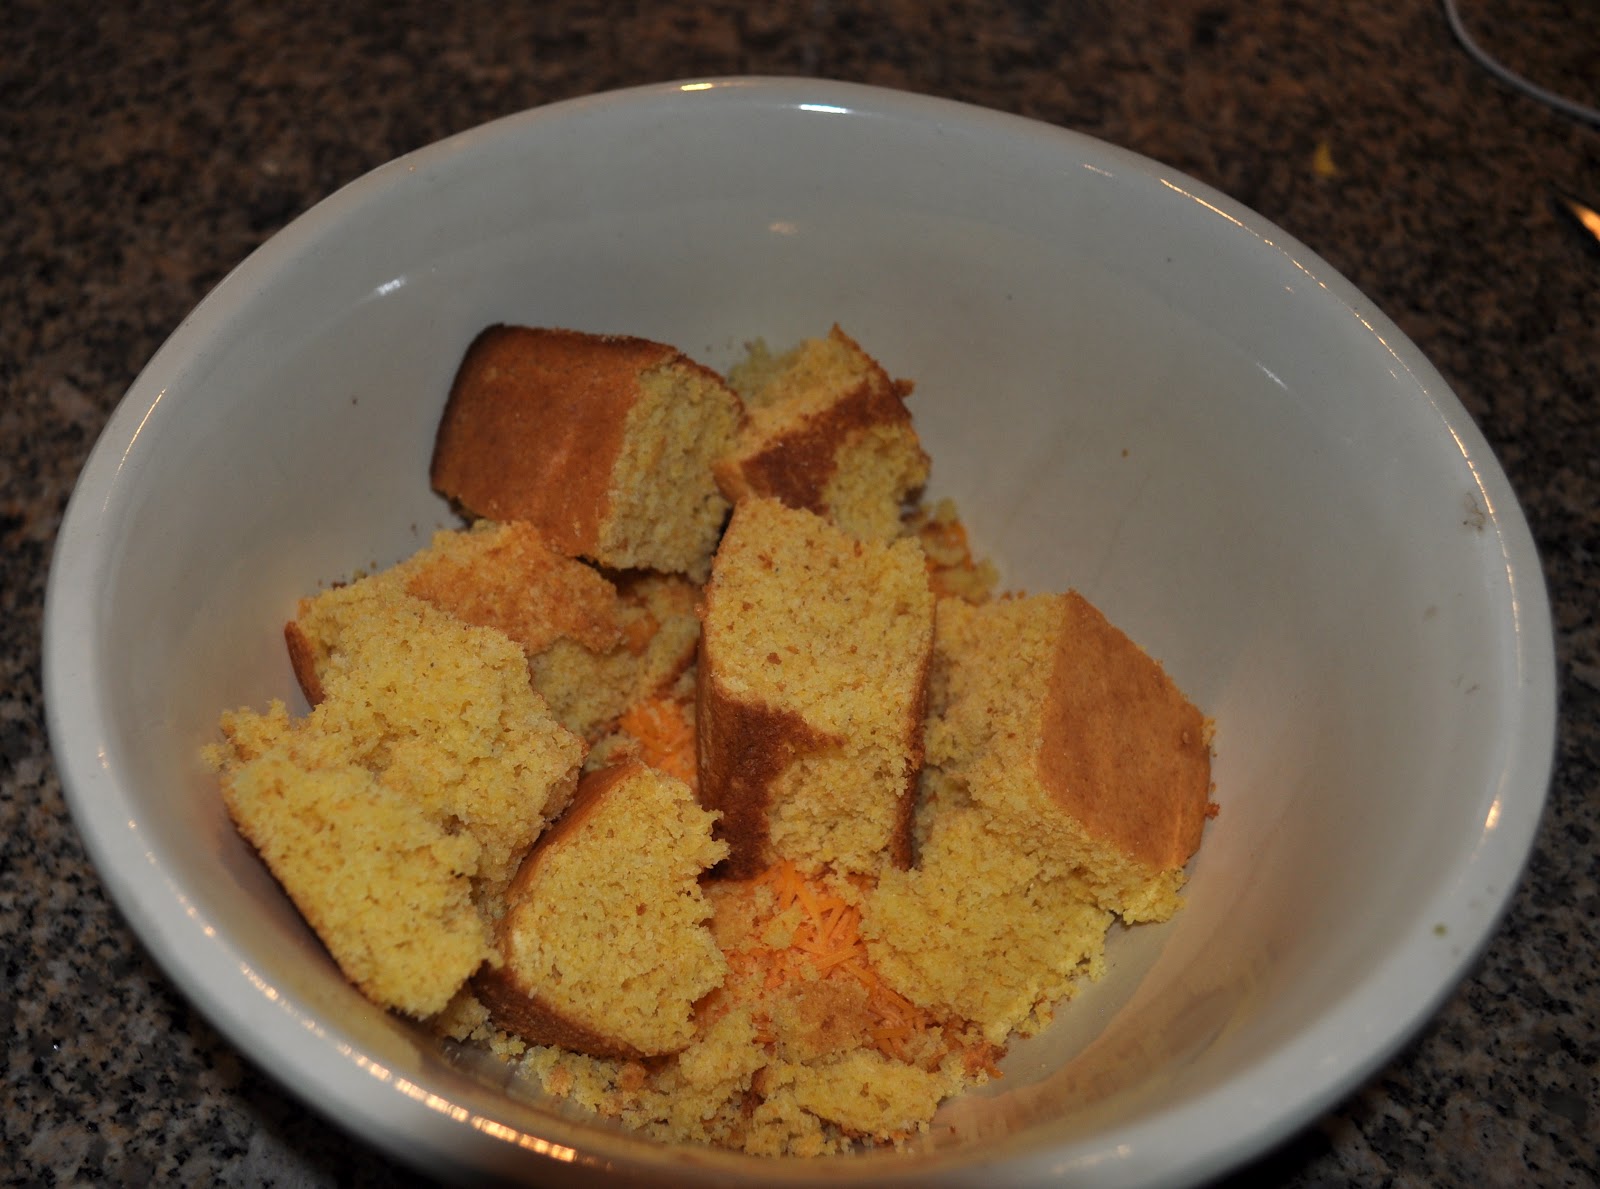
You could make your own cornbread from scratch, but I've been using this mix and it's working out just fine.   Following the directions on the package, I bake the cornbread in a square dish, let it cool and then break it up in pieces and put it in a big bowl.
While the cornbread is baking, I chop up the squash in pretty big chunks.  It cooks down quite a bit and I like to bite into squash when I'm eating the casserole.  I put it in a pot with a little water and cook for a few minutes until the squash is almost tender.  Then drain it (reserving about a cup of water) and press down on the squash as much as possible to get out the liquid.
 In a skillet, I melt 1/4 stick of butter and about 1/4 cup olive oil. Then I chop some onion, garlic and fresh herbs.  I've been using thyme and parsley.  Of course you could use some dried herbs too.
I saute all that together until the onions are tender and add a couple of teaspoons of granulated chicken bouillon.  All of this goes into the bowl with the crumbled cornbread and cooked squash.
In that same bowl goes an eight ounce bag of shredded cheese, salt and pepper and some of the liquid you cooked the squash in.  Mix everything together and pour into casserole dishes.  
Bake at 350, covered with foil until bubbly. After about thirty minutes take off the foil so the casserole can brown for a few minutes.  I put the unbaked casseroles in the freezer for another day.  When I'm ready to eat them, I'll just pull them out and bake.
Good idea, huh?  
Thanks, Betsy! These pictures make me want some right now.

Betsy's Squash Casserole
4 1/2 cups zucchini, diced
4 1/2 cups yellow squash, diced
1 cup liquid from drained squash
1 cup chopped yellow onions
1 9x9 pan cornbread, cooked and crumbled
1/4 cup butter 
1/4 cup olive oil
1 t. salt
1/2 t. pepper
2 t. granulated chicken bouillon
1 t. minced garlic
8 oz. grated cheddar cheese
1/2 t. thyme
1 T. parsley

Prepare cornbread from scratch or using boxed mix.  Place squash in saucepan and add just
enough water to cover.  Cook on low heat just until tender.  Remove from heat.  Drain squash,
reserve 1 cup of squash liquid.  On medium low temperature, place butter and oil in skillet.  Saute
the onions until they turn clear. Add salt, pepper, thyme, parsley.  Add granulated chicken bouillon
and garlic to onions. Stir.  Crumble cornbread in bowl and pour in reserved squash broth.  Add squash and cheese and stir all together.  Pour into greased casserole dishes and bake at 350 for 50 minutes.  Cover for first thirty minutes of cooking time.