
The smell of simmering apple butter screams fall. It's the best potpourri around and once it's finished cooking, I love it smeared on a slice of homemade bread. Yum! Pure comfort food.
I've made apple butter for years, but never have I made a recipe that's this easy. I'm thankful to j'Nae for sending this my way. In fact, it's so good and so easy, I've lost count of how many pots of this I've made in the past three weeks. Let's just say, I have a nice stash put away for winter and for sharing with very special people. Before I move on to apple pie filling, I wanted to share this recipe with you, just in case you'd like to make some apple butter for yourself. Don't be nervous if you've never canned before. This is the perfect project for beginners, with no pressure canners involved.
Before going to bed, I slice my apples and fill up the crockpot. I dump my sugar, cinnamon, cloves and allspice on top of the apples. I don't even bother to stir, because with all those apples, it would just make a mess. I set the crock pot on low, cover and forget about it until morning. Be prepared to wake up to a wonderful aroma.


New, canning flats go into a pan of water and are brought to a boil. Then I turn them down on low and keep them hot.

Now it's time to work with the apple butter. The apples have cooked down by almost half and are still nice and chunky. If that's the way you like you're apple butter, you can skip the next step.

I take my stick (immersion) blender and blend on low to give the apple butter a smooth consistency. Be very careful with the stick blender. This thing works like a charm, but if you accidentally lift it too far out of the apples, you will likely spray it all over your kitchen, burning yourself in the process. I might know this from experience. Really, just be careful with the stick blender!

I love the way the blade pops off for easy cleanup. Don't let my warning scare you away from one of these. They really are great.

After the blending process, my apple butter looks like this. If you don't have a stick blender, you could mash it with a potato masher or use a food processor or regular blender. If you end up taking it out of the crock pot and working with it, you might need to reheat it in a big pot on the stove before putting into canning jars. With the method I've been using, the apple butter stays hot enough to go straight from the crock pot to the jars. That's another thing I love about this recipe, one less thing to wash.


After filling the jars, I wiped the rims of each jar with a clean towel, to clean up any spills. If it's not clean, the lid probably won't seal. And you want the lids to seal, or you will be eating a lot of apple butter in a short amount of time.

I use my magnetic lid lifter (what a clever tool, that I should have bought years ago) to move the flat lid from the hot water onto the jar.
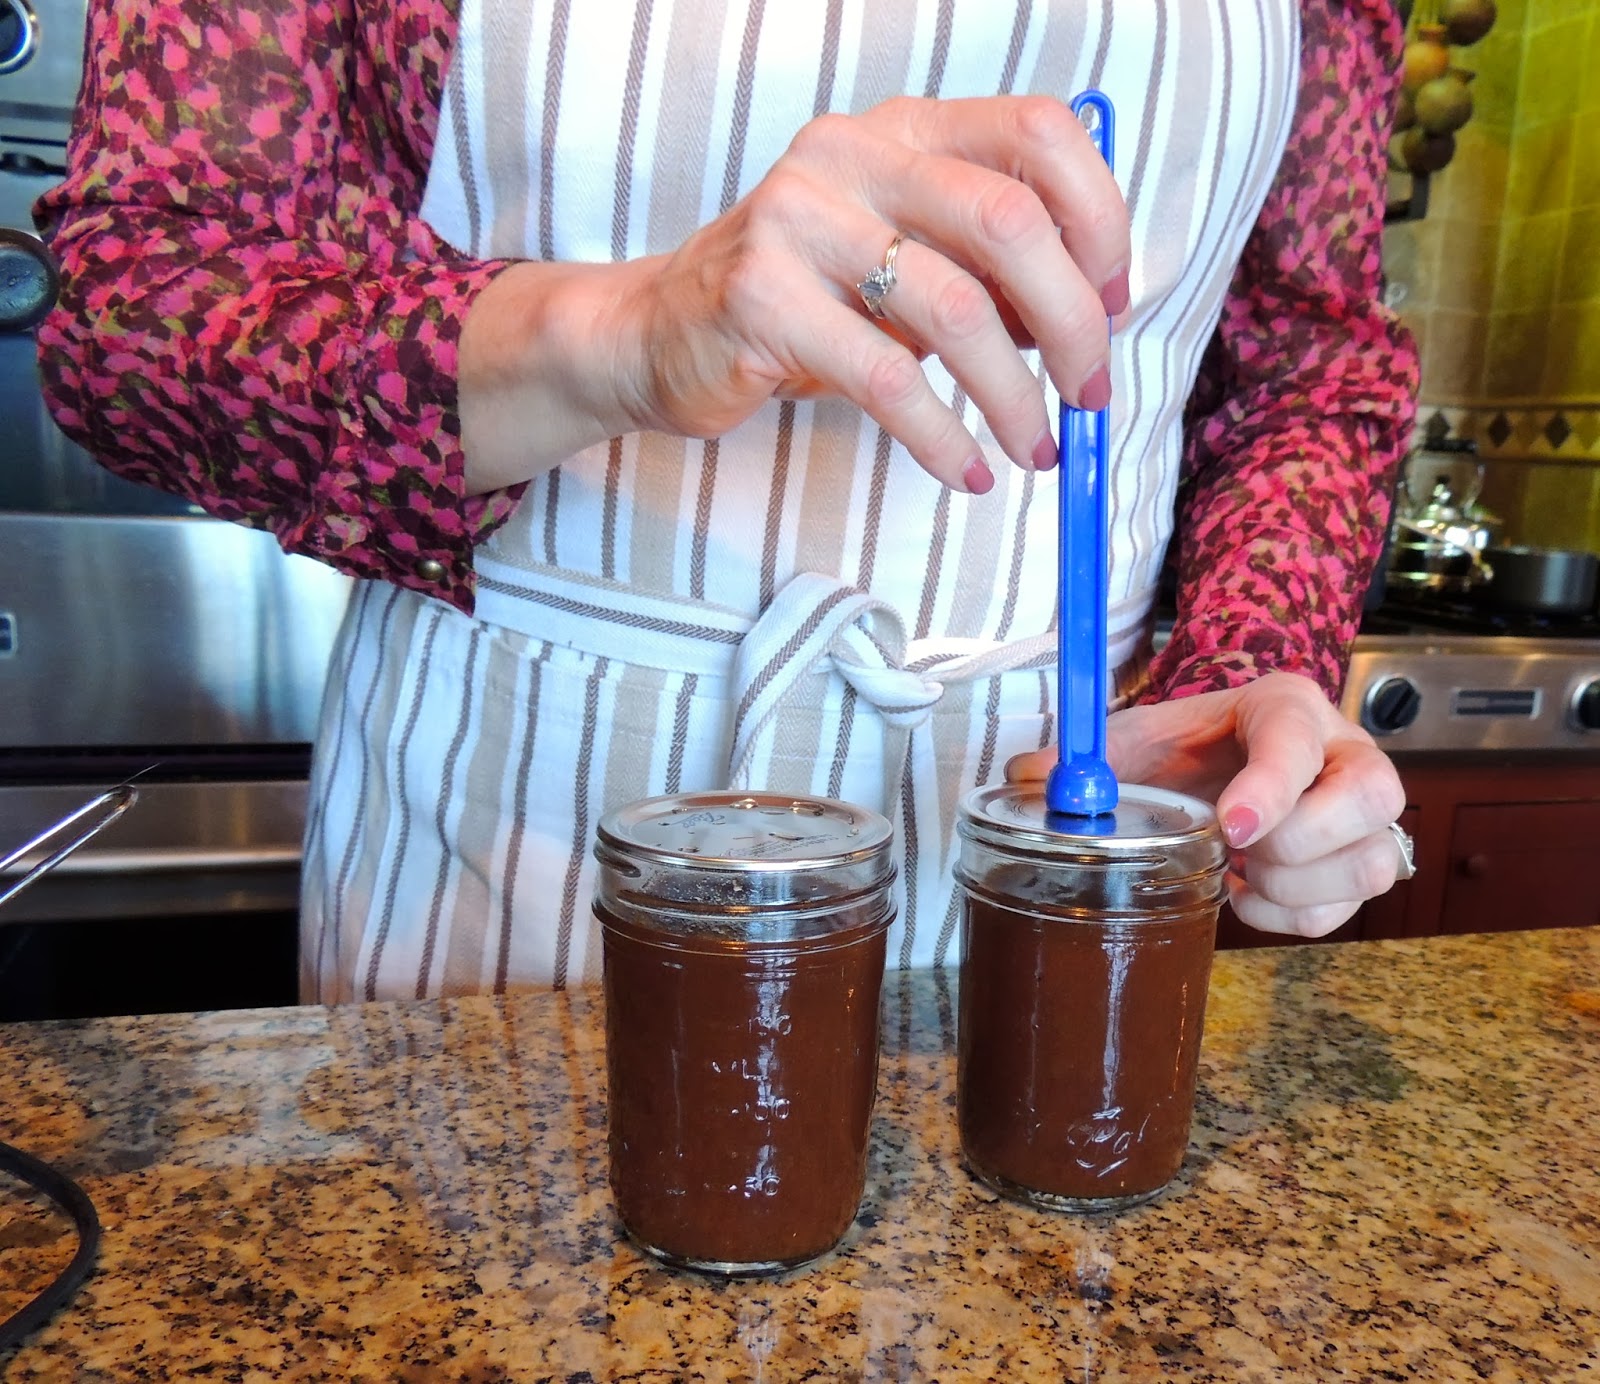
Then screw on the bands and move it to the hot water bath.


The water should completely cover the jars and come to a rolling boil before you start timing. After putting the lid on the canner, I left these in the water bath for ten minutes.

Nothing is as satisfying as seeing all these jars lined up on your cabinet and hearing the "plink" of the lids as each one seals. The only job left is loading them up and carrying them to the basement pantry. But I leave them on the counter for a few days, just so I can admire the fruits of my labor.

Crock Pot Apple Butter
Slice and fill your crock pot with a good cooking apple.
( I used a mixture of Rome and Winesap)
Add 4 cups sugar (I've reduced this to 3 cups with good results)
2 teaspoons cinnamon
1 teaspoon cloves
1/2 teaspoon allspice
Cook on low overnight or adjust heat and time to your
schedule. Apples will reduce by almost half. Mash
or blend to desired consistency and put into hot jars.
Process for ten minutes for pint jars.
No comments:
Post a Comment