
When December rolls around, it's time to make the gingerbread houses. I learned this skill at a homemaking meeting years ago and I'm sure Bev and Lindsay had no idea the countless houses that would result from that class. My family and friends have been blessed over and over as a result of those two women giving of their time and talents.
Our houses aren't fancy, but they're constructed with lots of love and candy. Those are the two most important ingredients. Here's a picture I dug out of an old photo album when my eldest must have been around eleven years old. We were having a gingerbread party with the cousins and it probably took months to get all the candy swept off the floor when we were finished. I wish I had a picture of all the kiddos that were around the table that day, I think there were at least eight of them. Those are good memories.

This house was constructed a few Christmas' ago. Although I can't remember who gets the credit for it, it's awfully pretty, isn't it?

Last year, I had my sister, niece, daughter and good friend here to make houses with me. That was a fun day.

This year I decided it was time to bring in the children again and boy did we have fun. But let me start at the beginning. Before decorating, you have to bake the houses. This may not be the most exciting part of the process, but it sure makes your home smell wonderful! When I can, I like to bake the houses on one day and decorate on another. After mixing up the dough, I knead it a few times and it's ready to roll. This dough is so easy to work with!

I roll it out on the back of my cookie sheet. I know this seems strange, but believe me it works like a charm. It prevents you from having to move the cut pieces from the counter to the baking pan, which causes them to lose their shape.

Then I cut out the shapes,

and remove the excess dough from between the pieces.

This pan is ready to go in the oven.

As soon as they are finished baking, you have to go around each of the pieces again, trimming them to the proper size. Here's a warning: protect your fingers. There's something about taking upside down baking pans out of the oven and trimming around freshly baked dough that has the potential for burns. I do it every year.

I don't throw away any of those scraps. They are yummy for people and chickens!

One by one, the houses are baked and cooled on racks.

Now... it's time to assemble them.

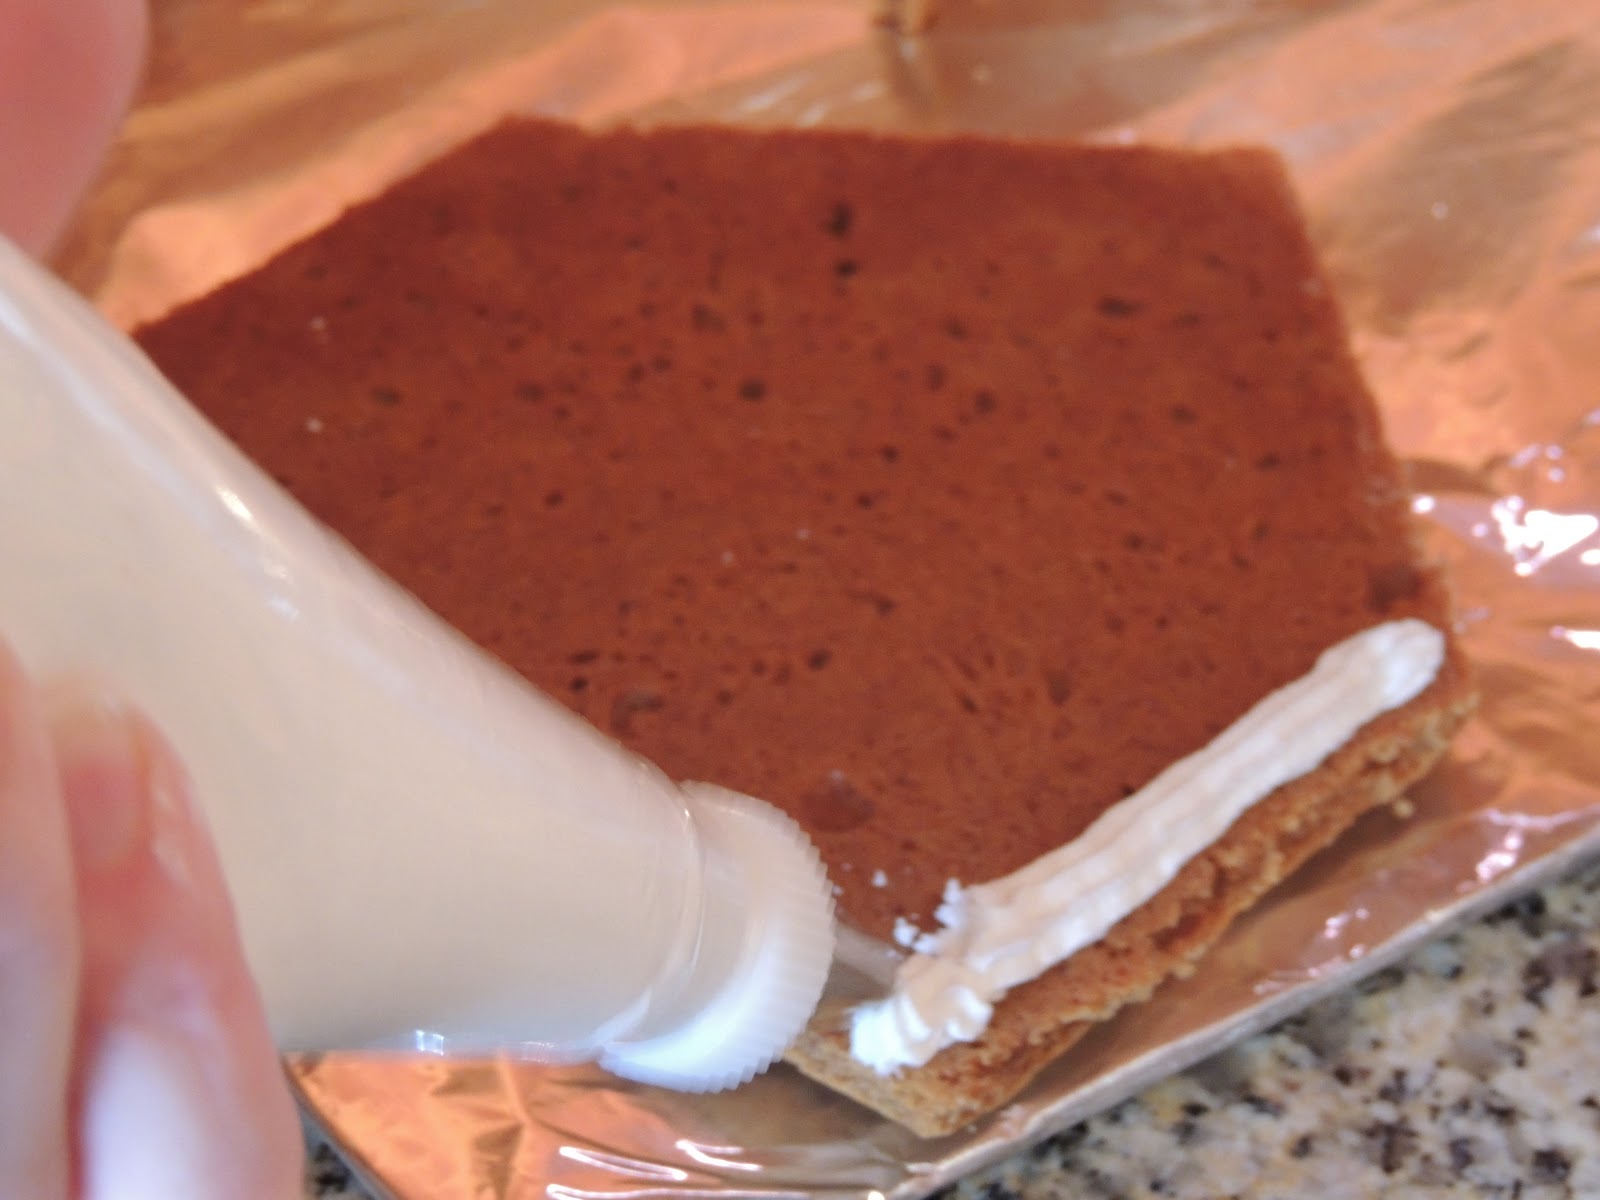
With plenty of royal frosting (make more than you think you'll need, 'cause it's a pain to have to stop and make more), I start piecing the walls together.

The roof goes on next.

I'm heavy handed with the frosting. I don't want this to fall apart when we start piling on the candy.

I hold this together for a few minutes to make sure it's not going to slide off and

finish it with a thick layer right down the top. I let them sit and harden for a while before we start to decorate (sometimes for days). I've found it's best to work to this point before bringing in the children. Assembling can be frustrating for little hands. Decorating is what it's all about!

Let the fun begin!

I discovered right away that it didn't matter how pretty the candy might look on the houses ( like hot tamales and mint m&m's) if these little elves didn't like the way it tasted, it wasn't going on their house. They planned on eating these! I guess that surprised me a little, because having a family of boys (and then one little princess), my kids always took their houses outside on New Year's Day and with a hammer, deconstructed them "demolition style". They weren't really into consuming them, they were into destroying them. I think that was almost as much fun for them as putting them together.


Abby has to test the frosting

and the candy too.

They did almost all the work, while I took pictures. It was fun hearing the constant chatter about their decorating and the exclaims of delight when they noticed something especially pretty on their sister's house. Every once in a while I would hear, "this is so much fun!" And I would smile.

Wouldn't this make you smile? Gingerbread houses are for young and old and a cherished part of my holidays. Thank you, Abby and Kelly for helping me keep this tradition alive. We had a fun day!

Bev's Gingerbread Houses (or Cookies)
5 to 5 1/2 cup flour (may need to add more)
1 t. baking soda
1 t. salt
2 t cinnamon
1 t. nutmeg
2 t. ginger
1 t. cloves
1 cup shortening
1 1/4 cups molasses
1 cup sugar
2 eggs, beaten
Melt shortening in a large pan. Add sugar, molasses, and eggs. Mix well and cool slightly.
Mix dry ingredients in a bowl and add 4 cups to liquid ingredients in large pan, mixing well. Continue to add flour until you havea dough you can turn out onto a floured surface. Knead in remaining flour mixture. Roll to1/8 inch on floured surface for cookies or as shown above for gingerbread houses. Place on greased sheets and bake at 375 for 8 - 10 minutes.

This recipe makes three houses and one pan of gingerbread boys. Email me if you would like a copy of the pattern pieces and I'll mail them to you.
I sure missed participating in this tradition this year. What fun memories of Christmas past and all the houses we built. Thanks Liss.
ReplyDelete